How to Convert Blueprints to Digital: A Comprehensive Guide for Architects and Designers
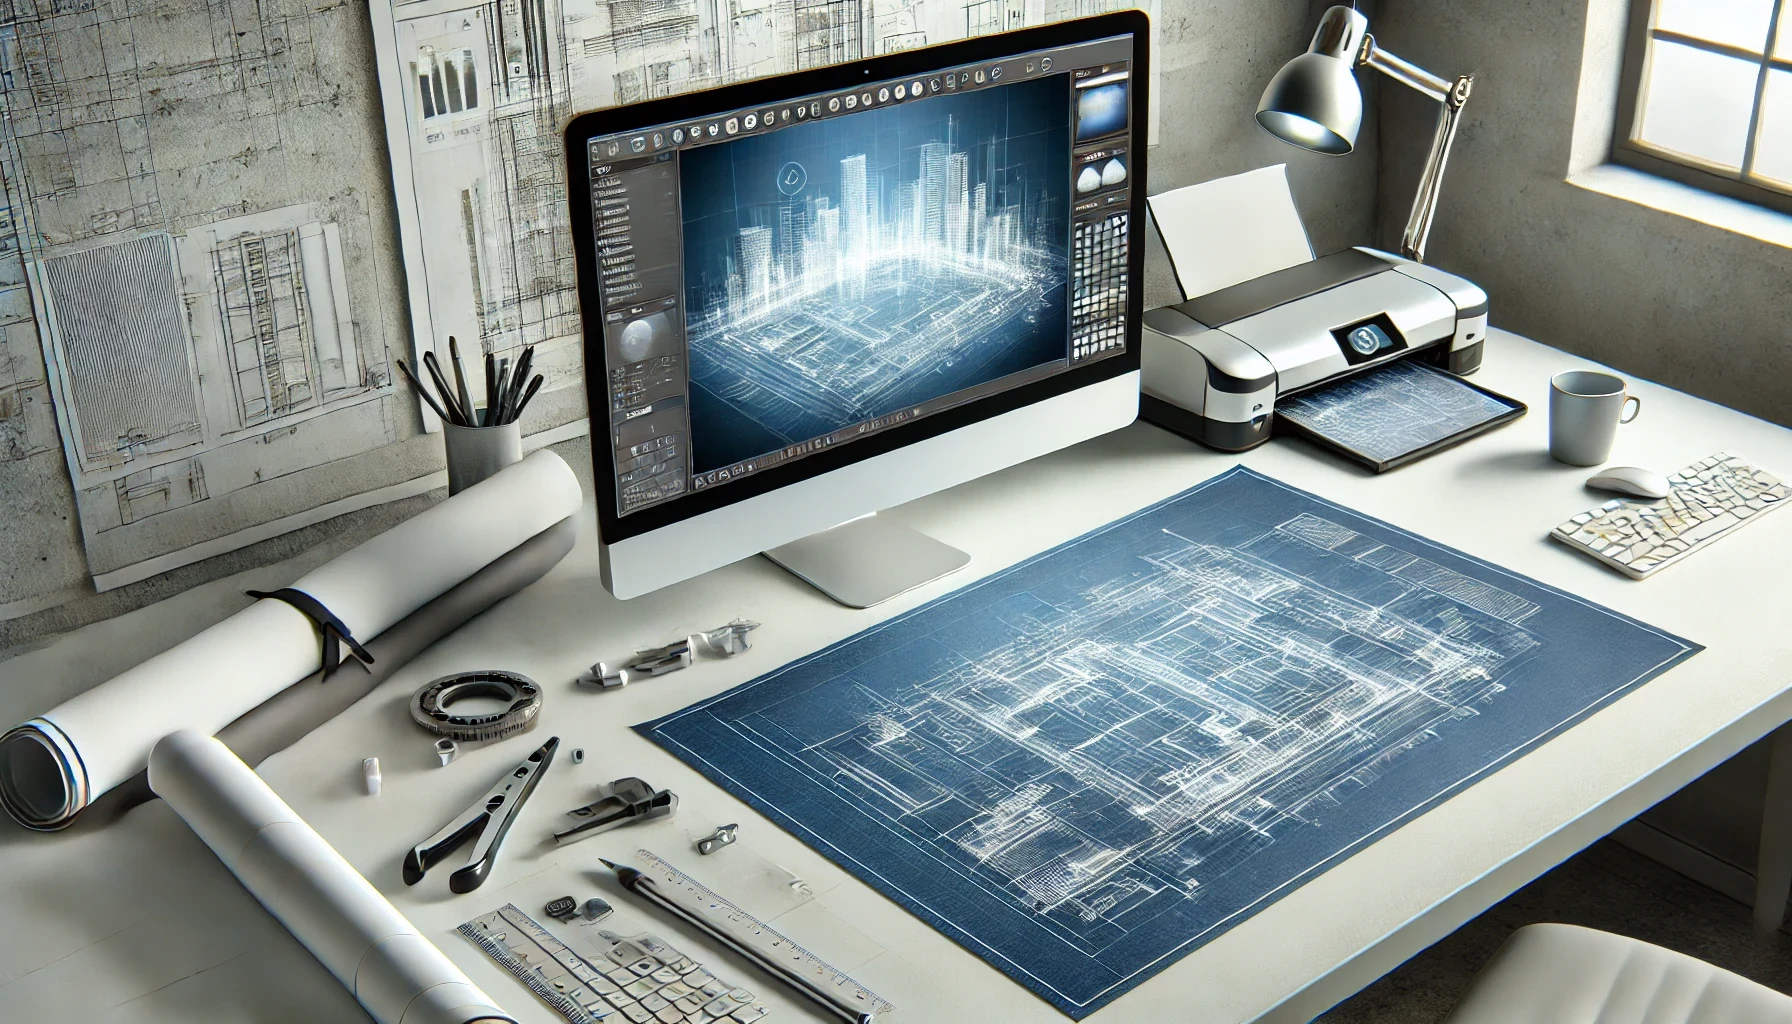
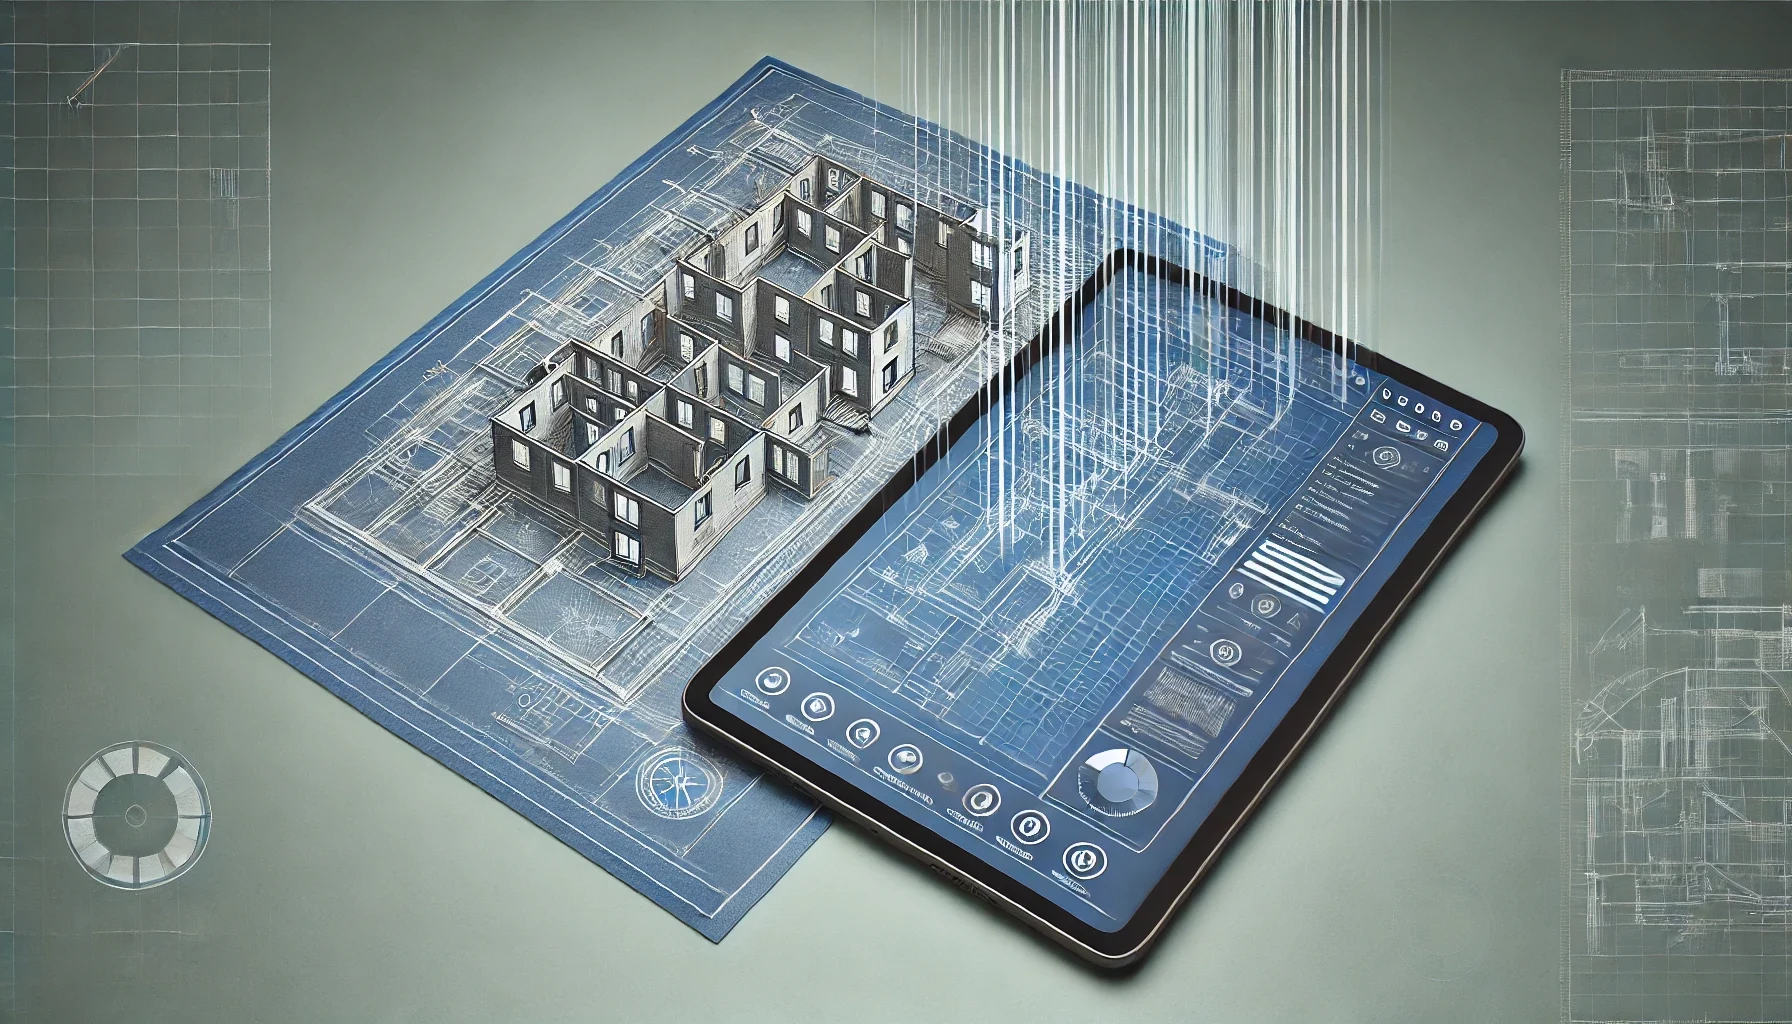
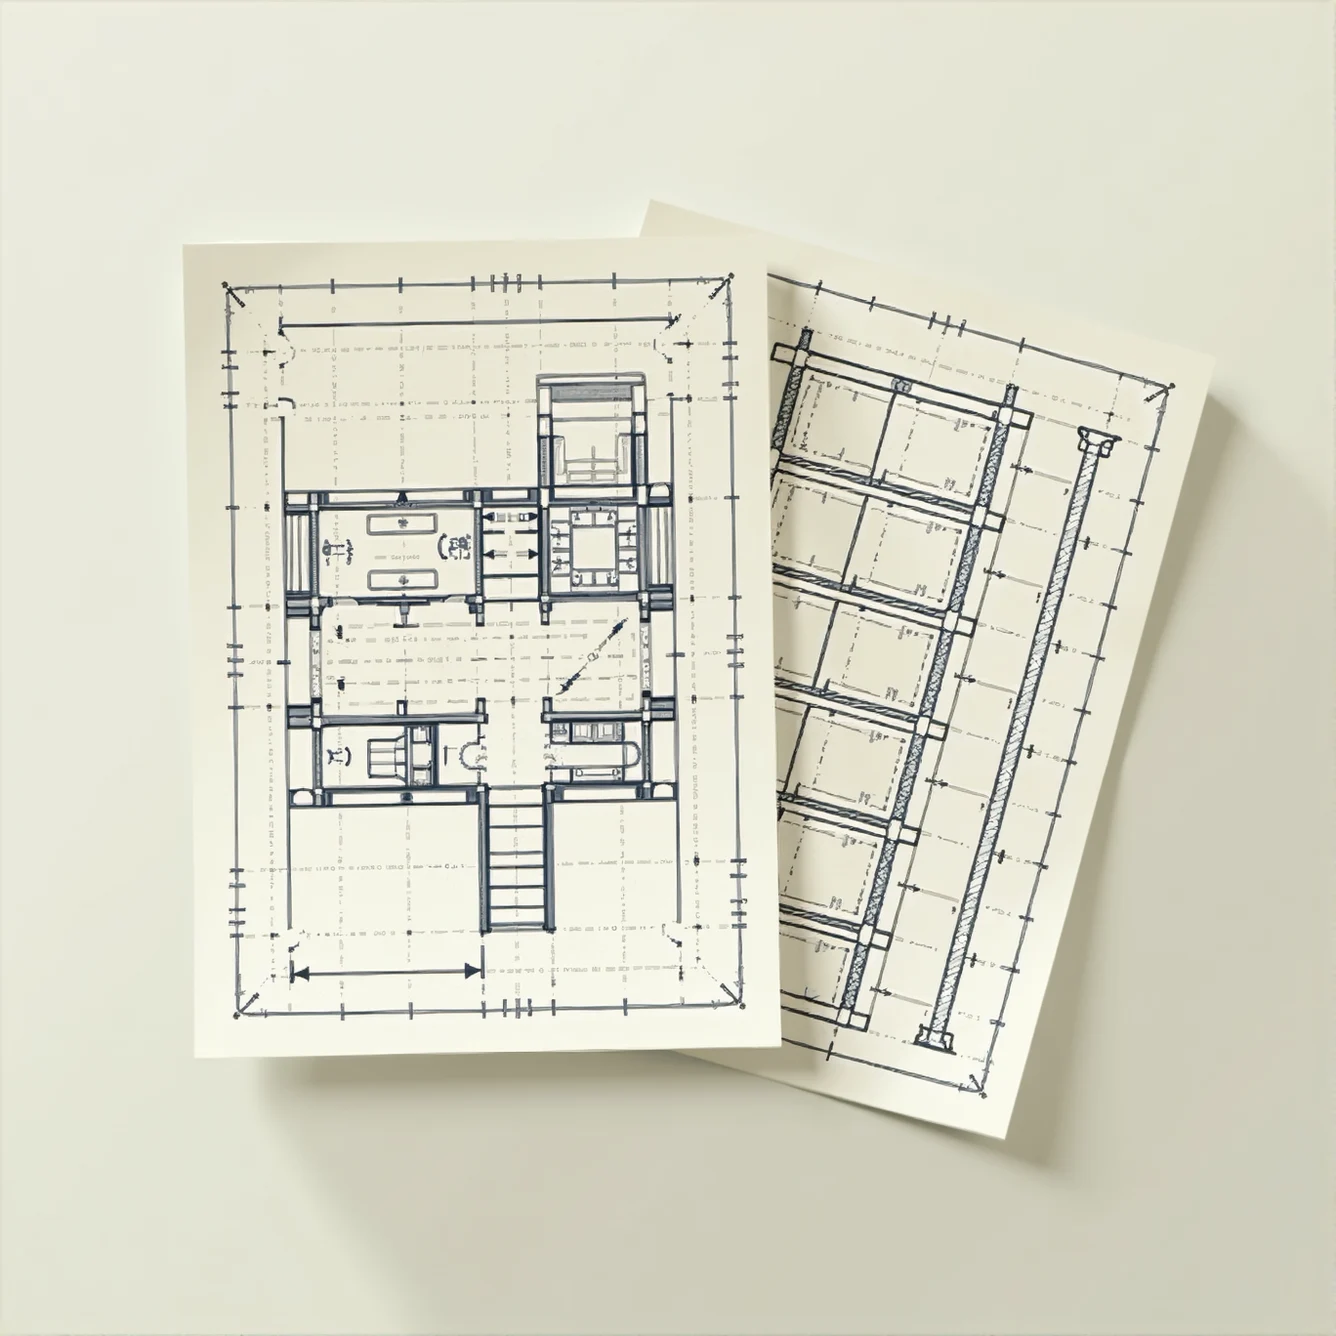
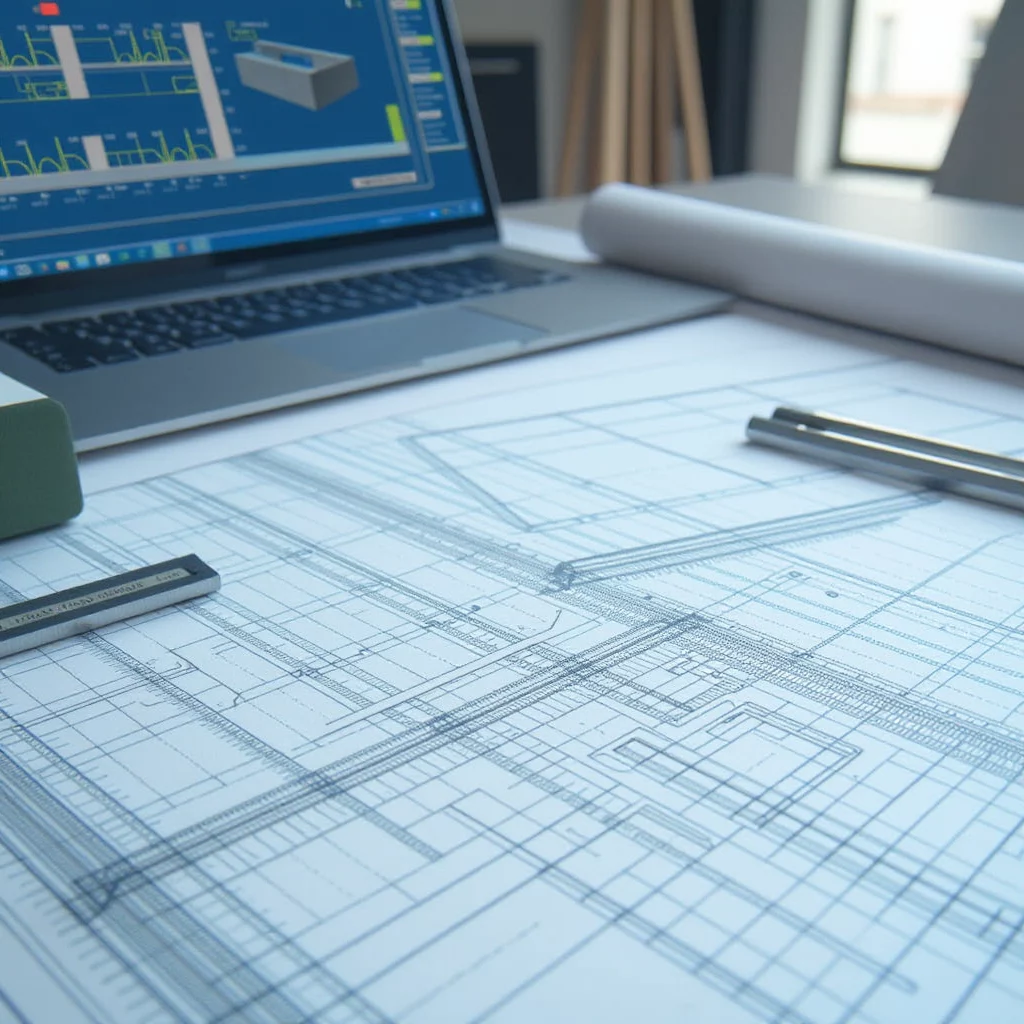
In today’s fast-paced digital landscape, the shift from traditional blueprints to digital formats has become essential in architecture, construction, and design. Converting blueprints to digital files improves project management, increases accuracy, and allows for seamless collaboration across teams. This guide will walk you through why and how to convert blueprints to digital, the tools involved, and best practices to ensure high-quality, usable results.
For expert assistance in converting your blueprints, visit our Sketch to Digital Services page.
Why Convert Blueprints to Digital?
Before diving into the process, it’s essential to understand why converting blueprints to digital is beneficial. Moving to digital blueprints offers advantages that can streamline your workflow and reduce errors:
- Improved Accessibility and Collaboration: Digital files can be shared, edited, and reviewed in real-time, making it easy to collaborate with team members or clients.
- Better Accuracy and Precision: Digital formats allow for more precise measurements and editing, which can reduce costly errors.
- Efficient Storage and Retrieval: Unlike physical blueprints, digital files can be stored securely in the cloud, allowing for quick retrieval without the risk of physical degradation.
- Sustainability: Going digital reduces the need for paper, aligning with eco-friendly practices and reducing waste.
Steps to Convert Blueprints to Digital
Here’s a step-by-step guide to converting traditional blueprints to digital files effectively and efficiently:
Step 1: Gather and Organize Your Blueprints
Before scanning, organize all blueprints by project or date to ensure nothing is missed. Carefully inspect them for any damage, as worn or faded blueprints may require touch-ups for better digital clarity.
Step 2: Choose the Right Scanning Equipment
The quality of your digital file will depend heavily on the scanning equipment used. For best results, consider using a large-format scanner that can handle blueprints without folding or distorting them.
- Flatbed Scanners: Ideal for fragile or older blueprints, these scanners offer high resolution but can be time-consuming.
- Sheet-fed Scanners: Faster than flatbed scanners, but not suitable for delicate blueprints due to the potential for damage.
Ensure the scanner has a minimum resolution of 300 DPI (dots per inch) for clear and detailed results.
Step 3: Adjust Settings for Optimal Scanning
To achieve a high-quality scan, adjust your settings appropriately. Here are a few suggestions:
- Resolution: Use at least 300 DPI for detailed results.
- File Format: For editing purposes, scan in TIFF format. For simpler viewing, PDF or JPEG formats work well.
- Color: Choose black and white for basic lines or grayscale for blueprints with shading and finer details.
Step 4: Enhance and Clean Up the Scanned Images
Once scanned, you may need to use image-editing software to enhance and clean up the blueprint. Tools like Adobe Photoshop or GIMP can help with:
- Brightness and Contrast Adjustments: Improve visibility, especially for faded prints.
- Noise Reduction: Eliminate background clutter and enhance line clarity.
- Cropping: Remove excess borders or areas not part of the blueprint.
Step 5: Convert to a CAD Format
To make your blueprints fully editable, converting them to CAD (Computer-Aided Design) format is essential. Here’s how:
- Trace the Blueprint: Use software like AutoCAD or Revit to trace over the blueprint. Some software includes automatic tracing features, though manual tracing is often more accurate.
- Vectorize the Image: Vectorization converts raster (pixel-based) images into vectors, making the lines scalable and editable.
- Save in a CAD Format: Once vectorized, save the file in CAD-friendly formats like DWG or DXF, which are universally compatible with most design software.
Step 6: Integrate Data with BIM (Optional)
For more advanced applications, consider integrating your digital blueprints with Building Information Modeling (BIM) software. This allows for enhanced detail, enabling you to add data about materials, dimensions, and project specifications directly into the digital blueprint. BIM integration is particularly useful in complex architectural projects, as it enables real-time project updates and precise documentation.
Tools for Converting Blueprints to Digital
Several software tools and resources can facilitate the conversion process:
- AutoCAD: One of the most popular tools, AutoCAD provides powerful vector tracing and editing capabilities.
- Bluebeam Revu: This software allows for PDF editing and markup, making it ideal for annotating scanned blueprints before CAD conversion.
- Scan2CAD: A dedicated tool for converting raster images to vector, Scan2CAD is highly accurate and widely used for blueprint conversion.
- Adobe Illustrator: Although traditionally used for graphic design, Illustrator is effective for vectorizing simple blueprints.
Best Practices for Converting Blueprints to Digital
To ensure high-quality results, follow these best practices when converting blueprints to digital:
- Choose the Right Resolution: Higher resolution is essential for clarity. Avoid going below 300 DPI, especially for intricate designs.
- Organize Files by Project: Create a logical file structure to keep projects organized. For example, use folders labeled by project name or date.
- Secure Cloud Storage: To prevent data loss, store your digital files in a secure cloud environment where they can be easily accessed by authorized personnel.
- Regularly Update Software: Stay current with the latest CAD and BIM software updates, as they often include improved tools for blueprint handling and editing.
Advantages of Digital Blueprints in Modern Architecture
Digital blueprints have become indispensable in modern architecture and construction. Here’s why:
- Enhanced Accuracy and Precision: Digital files allow for high-precision measurements and make it easier to correct errors.
- Simplified Collaboration: Cloud-based platforms enable team members to access, edit, and share blueprints from anywhere.
- Quick Revisions and Updates: Digital blueprints are easily modified, saving time and costs associated with reprinting and redistributing paper blueprints.
- Environmentally Friendly: Digital files reduce the need for paper, making projects more sustainable.
Challenges in Converting Blueprints to Digital
While the benefits are clear, there are also challenges to be aware of:
- Initial Cost of Equipment: Large-format scanners and CAD software can be costly, although the investment often pays off over time.
- Time Investment: For complex projects, the process can be time-intensive, especially when manually tracing intricate blueprints.
- Learning Curve: Familiarizing yourself with CAD and vectorization software may take time but can improve efficiency in the long term.
Conclusion
Converting blueprints to digital formats is an investment in precision, collaboration, and sustainability. While the process may seem challenging, following the right steps and best practices will help ensure your digital blueprints are accurate, easy to manage, and readily available for future projects.
If you’re ready to bring your blueprints into the digital age, explore our Sketch to Digital Services for expert assistance tailored to your project’s needs.


