Tutorial: How to Install a Self-Hosted Git Server on Your VPS
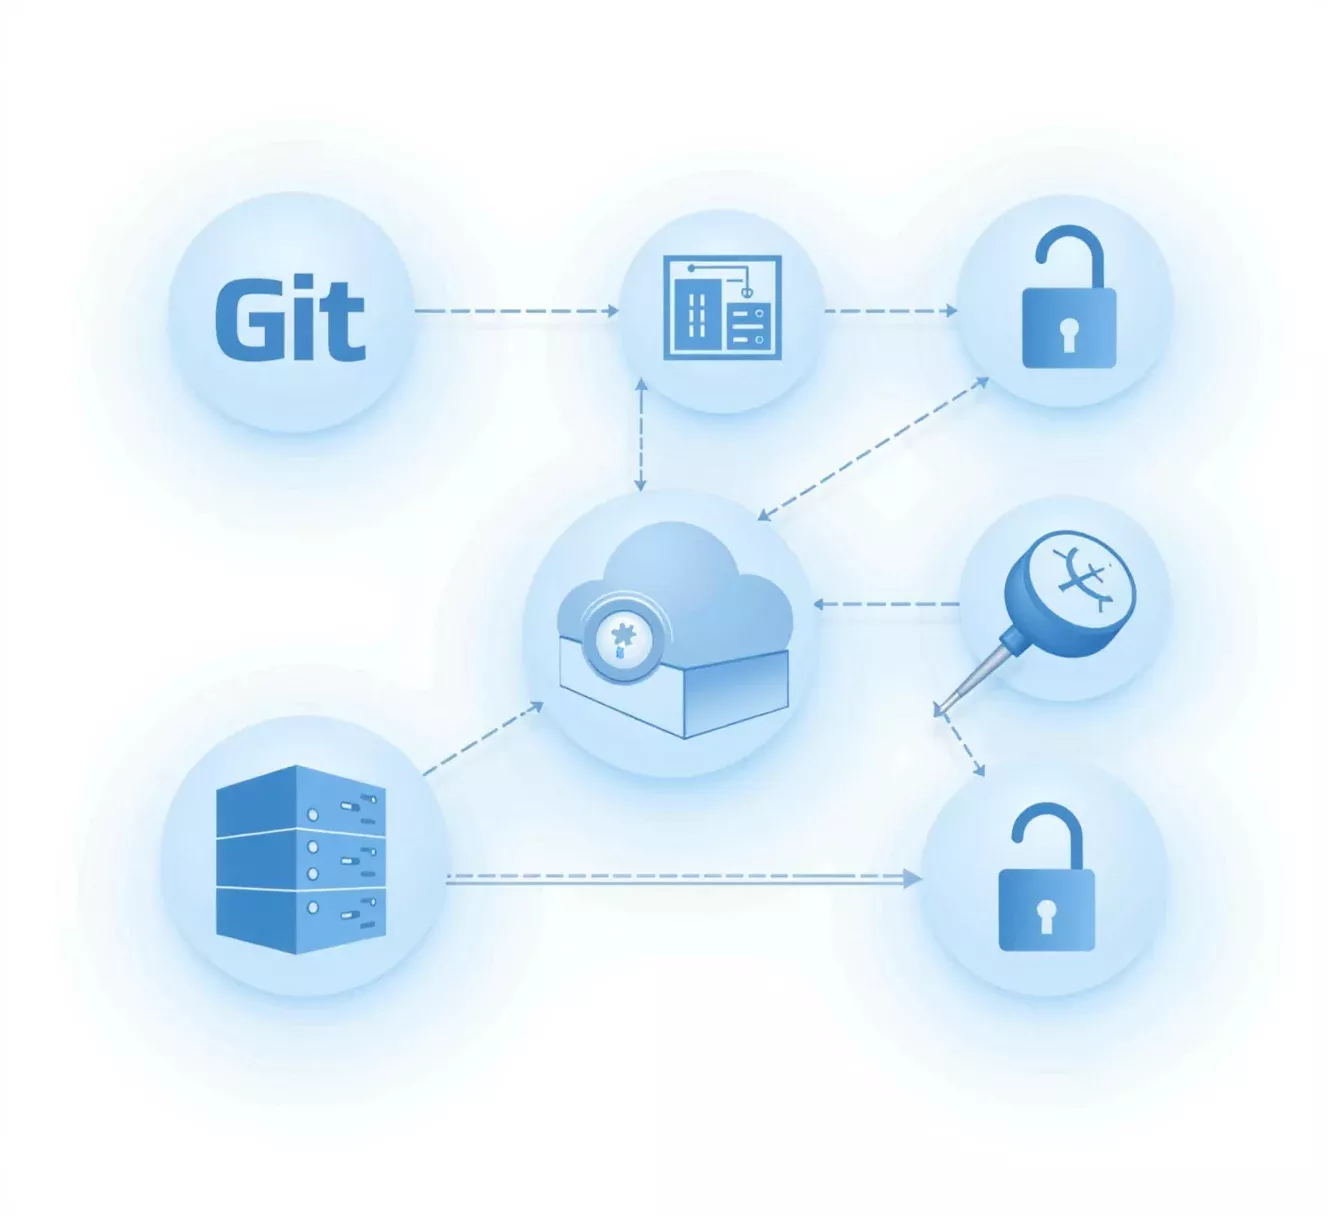
For development teams and individual developers alike, Git is an essential tool for version control. Hosting your Git server on a VPS offers greater control, flexibility, and privacy than relying on third-party services. In this guide, we’ll walk you through setting up a self-hosted Git server on a virtual private server (VPS), from configuring the server environment to initializing Git repositories.
For VPS solutions tailored to your needs, visit our Virtual Server Plans page, offering both CT (LXC) and VM (KVM) options.
Why Host Your Own Git Server?
Before diving into the setup, let’s review the advantages of hosting your Git server on a VPS:
- Greater Control Over Data: Full control over repository access, data privacy, and custom configuration.
- Customizable Access Permissions: Set permissions to decide who accesses your code and adjust access levels.
- Cost Efficiency for Teams: Self-hosted solutions on VPS can be more affordable than premium Git hosting options.
Prerequisites
- A VPS Server: A Linux-based VPS (Debian/Ubuntu or CentOS) with SSH access.
- A Non-Root User: Use a user with sudo privileges to improve security.
- Basic Git Knowledge: Familiarity with Git commands will be helpful.
Step 1: Update Your VPS Server
Start by updating your server’s package list to ensure you have the latest updates:
sudo apt update && sudo apt upgrade -y   # For Debian/Ubuntu
sudo yum update -y                       # For CentOS/RHEL
Step 2: Install Git
On most Linux distributions, Git can be installed directly from the package manager.
# For Debian/Ubuntu:
sudo apt install git -y

# For CentOS/RHEL:
sudo yum install git -y
Verify your Git installation with:
git --versionStep 3: Set Up a Git User for Security
To secure your Git repositories, create a dedicated user for Git.
sudo adduser gitAfter creating the user, switch to the Git user:
sudo su - gitStep 4: Initialize the Git Directory Structure
Set up a directory where all Git repositories will be stored:
mkdir -p /home/git/repositoriesSet the necessary permissions:
sudo chown -R git:git /home/git/repositoriesStep 5: Configure SSH Access for Git
SSH provides a secure means of accessing the Git server, ensuring that only authorized users can connect to it.
- Copy Your SSH Key: Generate an SSH key if you haven’t already, then copy the public key to the Git server.
- Add the Public Key to Authorized Keys:
mkdir -p /home/git/.ssh
cat ~/.ssh/id_rsa.pub >> /home/git/.ssh/authorized_keys
chmod 600 /home/git/.ssh/authorized_keys
Test SSH Access:
ssh git@your-server-ipStep 6: Create a Bare Git Repository
On a Git server, repositories are typically “bare,” meaning they don’t contain a working directory. This format is designed for hosting purposes.
cd /home/git/repositories
git init --bare myproject.git
Set repository permissions:
chown -R git:git /home/git/repositories/myproject.gitStep 7: Connect Your Local Git Client to the Server
Now that your server is ready, connect a local Git repository to your VPS-hosted Git server.
git init
git remote add origin git@your-server-ip:/home/git/repositories/myproject.git
git add .
git commit -m "Initial commit"
git push origin master
Step 8: Set Up Additional Repositories and Access Control (Optional)
To add more repositories, simply repeat Step 6, creating separate directories for each project. Customize access permissions as needed.
Step 9: Setting Up Git Daemon for Public Access (Optional)
If you want to make some repositories public, consider enabling the Git daemon. Be cautious with this option, as it allows unrestricted read access to anyone with the repository URL.
Step 10: Maintaining Your Git Server
Once set up, regular maintenance keeps your Git server running smoothly:
- Backup Repositories: Create automated backups of your
/home/git/repositoriesdirectory to safeguard your code. - Monitor SSH Access: Regularly audit SSH access and keys in
/home/git/.ssh/authorized_keysto ensure security. - Update Git and Server Software: Keep Git and server packages updated to ensure compatibility and security.
Benefits of Using a Self-Hosted Git Server on VPS
- Enhanced Security: A VPS server offers complete control over who accesses your code.
- Customization and Flexibility: Customize settings to match your workflow.
- Cost-Effective for Teams: Hosting Git repositories on a VPS is often more affordable than premium third-party services for larger teams.
Setting up a self-hosted Git server on your VPS gives you control over your codebase, improves security, and can be cost-effective for teams and individuals. By following this guide, you can host your own Git server, manage code securely, and customize access as needed. If you’re interested in finding the best VPS server plan, explore our Virtual Server Plans for reliable and scalable options, including both CT (LXC) and VM (KVM) servers.


